Although we have had some nice sunny warm days the soil is still frozen in my garden and it is still to early to start any clean up of the flower beds.
It is a good time to start planning and sowing seeds for this years flowers though.
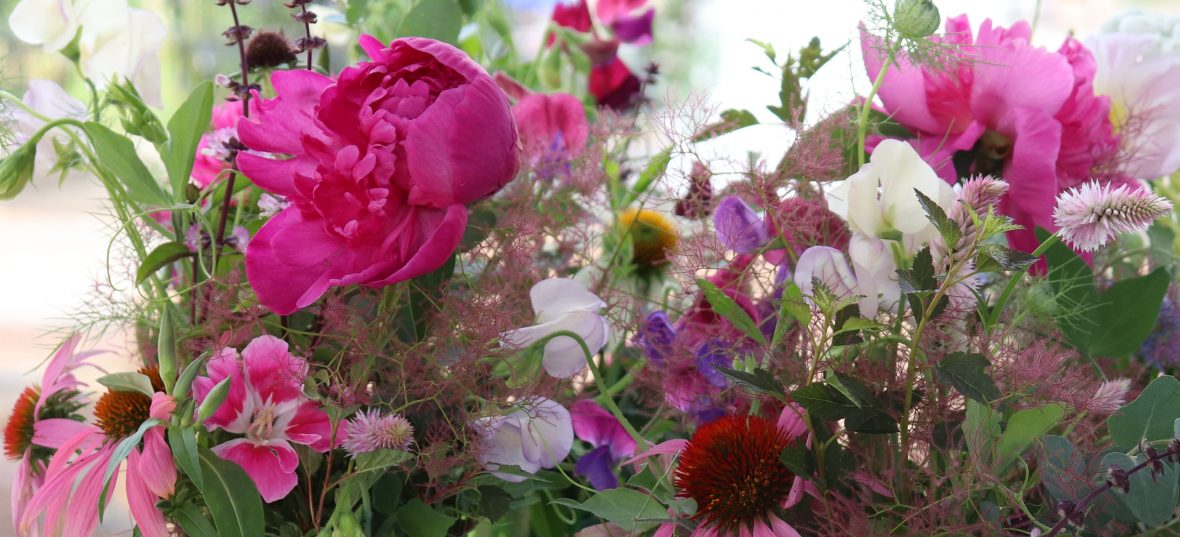
Here are my top tips for getting started on your own cut flower patch.

You do not need fancy expensive equipment and will probably find you already have most things you will need.
My essentials are:
- a good quality compost (I’m still looking for something peat free and will continue to search!) that is pre moistened but not soaking wet
- vermiculite – to cover seeds
- labels and waterproof marker pen
- notebook – it’s a good idea to keep notes so you do not forget what you have tried!
- chopstick – for placing seeds, making holes etc
- watering bottle with a fine spray (I got mine from Lee Valley Tools)
- something to use as pots – recycled plastic trays, cardboard tubes, yogurt pots, paper pots or cleaned and washed cell trays
- recycled plastic salad boxes also make great little propagators for putting pots in
- seeds
Depending on where you get your seeds, the packets will have all the essential information you need. These are from Hana Earth Gardens and have great information. If your packet does not have much information then do a little research first.
Hardy and half-hardy annual seeds are the easiest to start with. Some perennial seeds need special treatment to break their dormancy and germinate so they may not be the best to start with if you are new to staring seed.
Do not sow all your seeds in one go unless you want lots to share with others. It is surprising how many plants you can end up with and not have room for!

From the information on the packet you will find when to sow your seeds and how. These Pincushion flowers I am starting now 4-6 weeks before my last frost date. I am sowing one seed per cell and barely covering with vermiculite as they need light to germinate.
I put them on a heat mat with a dome cover in my growing room but on a bright windowsill in a plastic bag or salad box would also work. Mine started germinating in 5 days so check on them every day and remove the cover once they start germinating.
Now you have some seedlings to look after until they are ready to get planted out.
Follow along for more growing tips. What to do next with your seedlings will coming up soon but for now keep them in a bright spot and check on the watering daily as you do not want then to dry out.
Happy gardening!
Thank you for sharing your tips!
How do you know the best way to germinate each type of flower? Some need dark, some need light others need cold or heat. I just had my first fail at cosmos and zinnias. They were leggy and so I decided to transfer them and add soil to cover the stem.. they all died.. :(
But I was kind of expecting it.
Hi Chantale
That is so disappointing but it has happened to us all!
I’d encourage you not to give up yet. It sounds like you got your cosmos and zinnia to germinate fine but it was the next step that failed. Starting seeds too early and not giving them enough light causes them to get leggy.
I do not start my cosmos or zinnias until at least mid April as they like it nice and warm before they can go outside. I will be writing more about starting those seeds later so if you still have some seeds then hold on to them until then.
Hope that helps and don’t give up yet!